
Last updated November 15, 2026
 Sweep & inspection
 Caps & crowns
 Flue relining
 Masonry repair
 Gas fireplace service
Level 1 sweep and inspection to the NFPA 211 annual standard - flue, crown, cap, and flashing checked and photographed
Chimney sweep logs do not sweep chimneys. They loosen some creosote - which then falls where a brush and vacuum still have to collect it.
Chimney Sweep Maintenance Checklist for College Station Homeowners
The most skipped item on a chimney system isn’t the flue. It’s the cap. Most homeowners think of maintenance as “brush the flue once a year,” but in College Station the chimney cap takes the worst of what the climate throws at it, and a cracked or missing cap during storm season can undo a whole winter of careful fireplace use in a single afternoon. This guide isn’t a calendar with boxes to tick. It’s a component-by-component reference built around what you can actually see and test, from the firebox to the chase top, with clear lines drawn between legitimate DIY observation and work that needs a technician’s camera.
Quick Answer
A chimney maintenance checklist for a College Station home should cover three checkpoints (a pre-season inspection in September, an active-use check in January, and a post-season close-down in March) plus a component-by-component look at the cap, crown, damper, flue and firebox. Sweeping is due roughly every cord of wood burned or whenever the soot and creosote layer reaches about 1/8 inch. Anything involving the flue interior, cracked masonry or the crown needs a trained eye and a camera.
Styles & brands we work with
- Sweep & inspection
- Caps & crowns
- Flue relining
- Masonry repair
- Gas fireplace service
Table of Contents
- Why a College Station Checklist Looks Different
- Pre-Season Checklist (September): Before the First Fire
- Mid-Season Check (January): Reading the Fire as You Burn
- Post-Season Checklist (March): Closing Down for the Humid Months
- Component-by-Component: What Healthy Looks Like
- Which Checklist Items You Can Do vs. What Needs a Technician
- How Often Should You Actually Sweep?
- Common Mistakes to Avoid
Why a College Station Checklist Looks Different
Chimney guides written for cold climates obsess over freeze-thaw cycles and snow load. College Station doesn’t live there. Our winters are mild, our summers are long and humid, and the real pressures on a chimney system come from a different set of forces: heavy summer storms that drive rain against the cap and crown, months of high humidity that keep masonry and metal damp, and a long off-season when the fireplace sits unused and unobserved.
Those conditions change what you check and when. In a snowbelt home, the danger window is winter. Here, the chimney takes its worst damage between March and October, when nobody’s thinking about it. Rain slapping the crown, moisture wicking into masonry joints, animals looking for a dry spot to nest – all of it happens while the fireplace is idle.
That’s why the checklist below is organized around the calendar we actually live with. You inspect before the burn season, watch during it, and you close up carefully for the humid off-season. Skip that last part in College Station and you’ll find problems in September that started quietly in June.
One more local consideration: the housing here runs heavily toward single-family homes built across several decades, with wood-burning fireplaces and gas inserts both common. Some chimneys vent a fireplace that gets used on cool evenings in January and not much else. Others sit behind a gas insert that never sees a real fire, which lulls people into thinking there’s nothing to maintain. There is. Gas appliances and their venting still need inspection, and we’ve seen plenty of venting issues hiding behind an insert nobody thinks twice about. That’s the starting point for a real Saddle Chimney Sweep assessment: understanding what kind of system you actually have before deciding what it needs.
Pre-Season Checklist (September): Before the First Fire
September is the right month in College Station because it’s the tail end of the hot season and the start of the first cool evenings. You want to find problems now, while there’s time to schedule work, not on the night of your first fire. Run through this before the burn season starts.
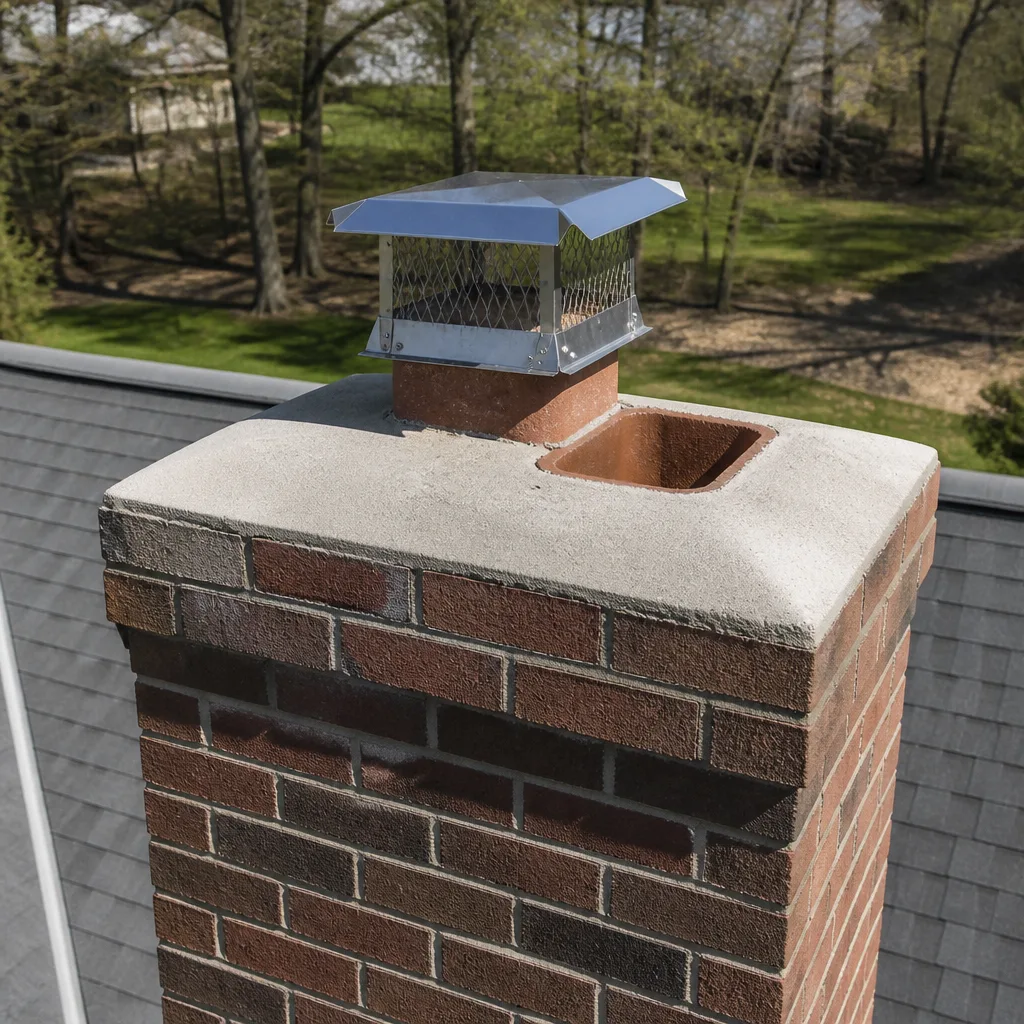
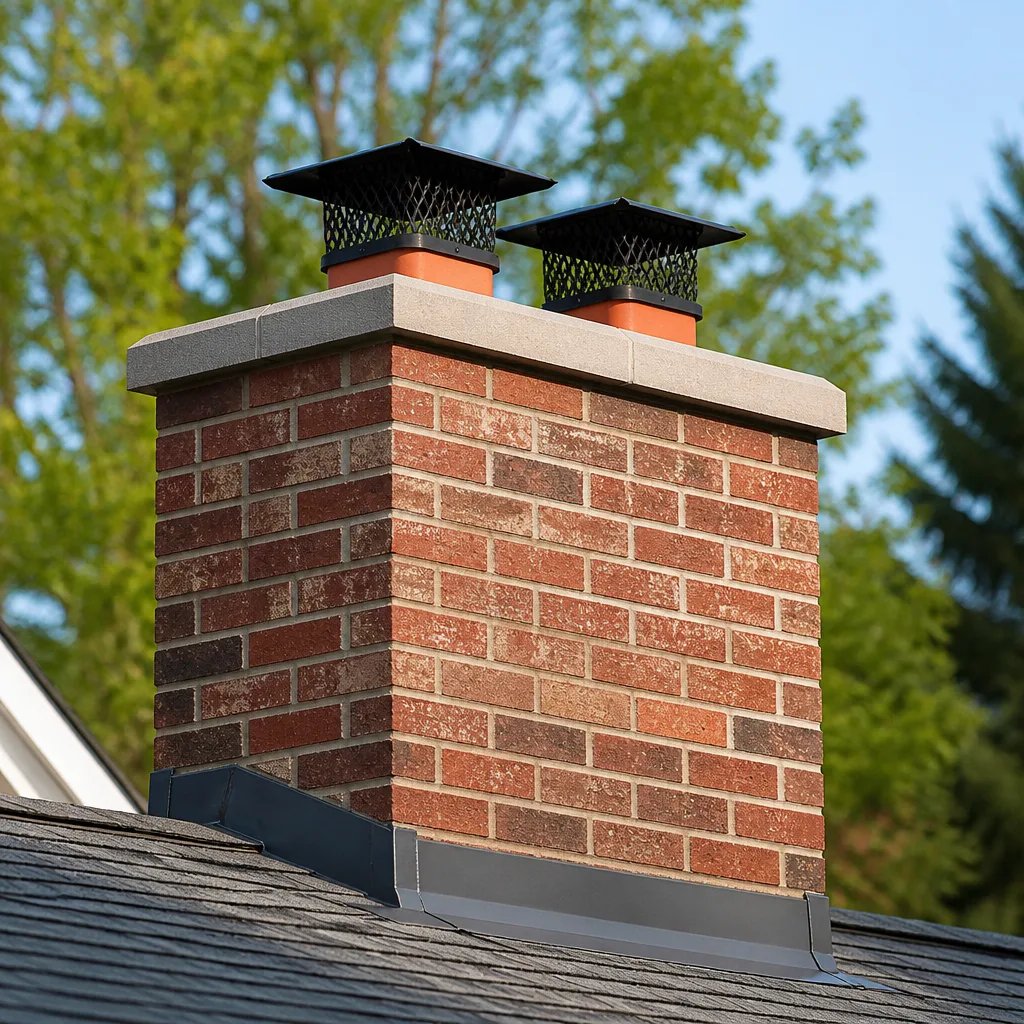
- Look at the cap from the ground. A chimney cap is a small metal lid on legs with a mesh screen around the sides. Check for a missing cap, bent legs, rust-through, or a screen that’s been pushed in. A failed cap is your number-one water and animal entry point.
- Check the crown. The crown is the concrete slab on top of the chimney that sheds water away from the masonry. Look for visible cracks, crumbling edges, or a crown that slopes toward the flue instead of away from it.
- Scan the exterior masonry. With a pair of binoculars from the yard, look for missing mortar joints, spalling brick, or white powdery staining (efflorescence), which signals moisture moving through the masonry.
- Test the damper by hand. Open and close it fully. It should move smoothly and seat flush. A damper that sticks, won’t close, or leaves a gap means heat and money leaking up the flue.
- Shine a light up the flue. With the damper open, look up with a strong flashlight. You’re checking for visible soot buildup, animal nests, birds, or debris, not diagnosing creosote thickness.
- Inspect the firebox. Look for cracked firebrick, loose mortar in the joints, or a firebox back wall that’s deteriorated. Cracks in firebrick can let heat reach the structure behind it.
- Check the smoke and carbon monoxide detectors. Replace batteries and test each unit. If you burn wood or run a gas appliance, working detectors are non-negotiable.
- Confirm your wood supply. Seasoned, dry wood burns cleaner and deposits less creosote than green wood. If you’re buying firewood, buy it early and let it dry.
A chimney cap inspection is the single highest-value item on this list, and it’s the one most often skipped. If the cap is cracked, missing or rusted through, the rest of the checklist gets compromised by water. When a sweep turns up a cap or crown issue, it’s not a separate problem to refer elsewhere – it’s part of the same fire-safety picture, and the team handling the sweep can address it with professional-grade materials.
Mid-Season Check (January): Reading the Fire as You Burn
During the burn season, your checklist shifts from inspection to observation. January is the middle of the College Station burn months, and it’s when active problems show up. You’re not pulling out tools here. You’re watching how your fireplace behaves and reading the signals.
- Watch the smoke. A well-drafting chimney sends most smoke up the flue. A fireplace that puffs smoke into the room, especially when you first light it or when the wind gusts, is telling you the draft is compromised.
- Notice the fire. A fire that struggles to stay lit, smokes heavily, or burns lazily is often a sign of poor draft or wet wood. A fire that roars, pulls hard, and consumes wood fast can indicate too much draft or a large, hot fire that’s driving creosote formation.
- Smell the room. A sharp, acrid smell when the fire is going, or a lingering smoky odor on days you haven’t lit a fire, points to a draft or backdraft issue.
- Listen for crackling that isn’t the wood. Popping or crackling from the chimney structure, not the firebox, is a reason to stop burning and call for an inspection.
- Check the glass on a gas insert. Sooty, blackened glass that clouds quickly is a combustion or venting signal worth a professional look.
- Watch the creosote line. With a flashlight up the flue, you can see the accumulation at the top of the firebox. A shiny, glazed, tar-like coating is a serious creosote situation; a dry, flaky, matte layer is early-stage buildup. When buildup is roughly 1/8 inch, it’s time to schedule a cleaning.
What you can’t easily judge in January is creosote inside the flue itself, especially above the firebox. That’s where a technician’s camera does what a homeowner’s flashlight can’t. In our experience, most of the creosote problems we find are above the reach of a casual check, and the homeowner had no reason to suspect them. If something looks off during January, stop using the fireplace and get it looked at before you light the next fire. A professional chimney sweep with a camera can tell you exactly where you stand.
Post-Season Checklist (March): Closing Down for the Humid Months
This is the section most guides leave out, and it’s the one that matters most in College Station. March marks the end of the burn season and the start of the long, humid, storm-heavy off-season. What you do now determines what condition your chimney is in when September comes back around.
- Clean out the firebox completely. Remove ash and any unburned wood. Leftover ash combined with summer humidity is a moisture and odor source, and it gives insects and animals one more reason to move in.
- Close the damper fully. A damper left open during the off-season lets air conditioning escape and humid outside air inside. Close it and confirm it seats.
- Cap the flue. If your chimney cap is missing or damaged, get it replaced before the summer storms. This is the single most important off-season protection step in a College Station home.
- Inspect the crown again after winter. Winter weather and the wet early spring can open a small crack into a bigger one. Now is the time to catch it, before the summer heat bakes moisture into the masonry.
- Schedule the sweep before the season closes. Booking a cleaning in early spring means the flue sits clean through the off-season, and you’re not scrambling in September.
- Seal out animals. A capped, screened flue is your best defense against birds, squirrels and raccoons looking for a dry nest. If you’ve seen signs of nesting, get it cleared before it becomes a summer home.
- Check the dryer vent, too. The off-season is your annual window for dryer vent cleaning, one of the most overlooked household fire hazards. Lint buildup in the vent line is a leading cause of dryer fires, and the same safety thinking that applies to your chimney applies there.
Everything on this March list is doable now, and catching it now means the storm season meets a chimney that’s already closed up and protected. When damage is found, repair work in the same visit is the point of working with a team that handles both cleaning and repair – you’re not handed a referral and left to coordinate it yourself.
Component-by-Component: What Healthy Looks Like
The most useful thing a checklist can do is tell you what “fine” looks like, so you can spot “not fine.” Here’s a component-by-component reference for a College Station chimney. Use it while you walk the exterior and interior, and treat anything on the “signals problems” side as a call to get it looked at.
- Chimney cap. Healthy: solid metal lid, intact mesh screen, legs solidly attached, no rust-through. Signals problems: missing cap, crushed or rusted screen, cap sitting askew, birds or debris visible at the flue.
- Crown. Healthy: concrete slab that slopes away from the flue, no visible cracks, edges intact. Signals problems: cracks wider than a hairline, crumbling or chipped edges, a crown that pools water or slopes toward the flue.
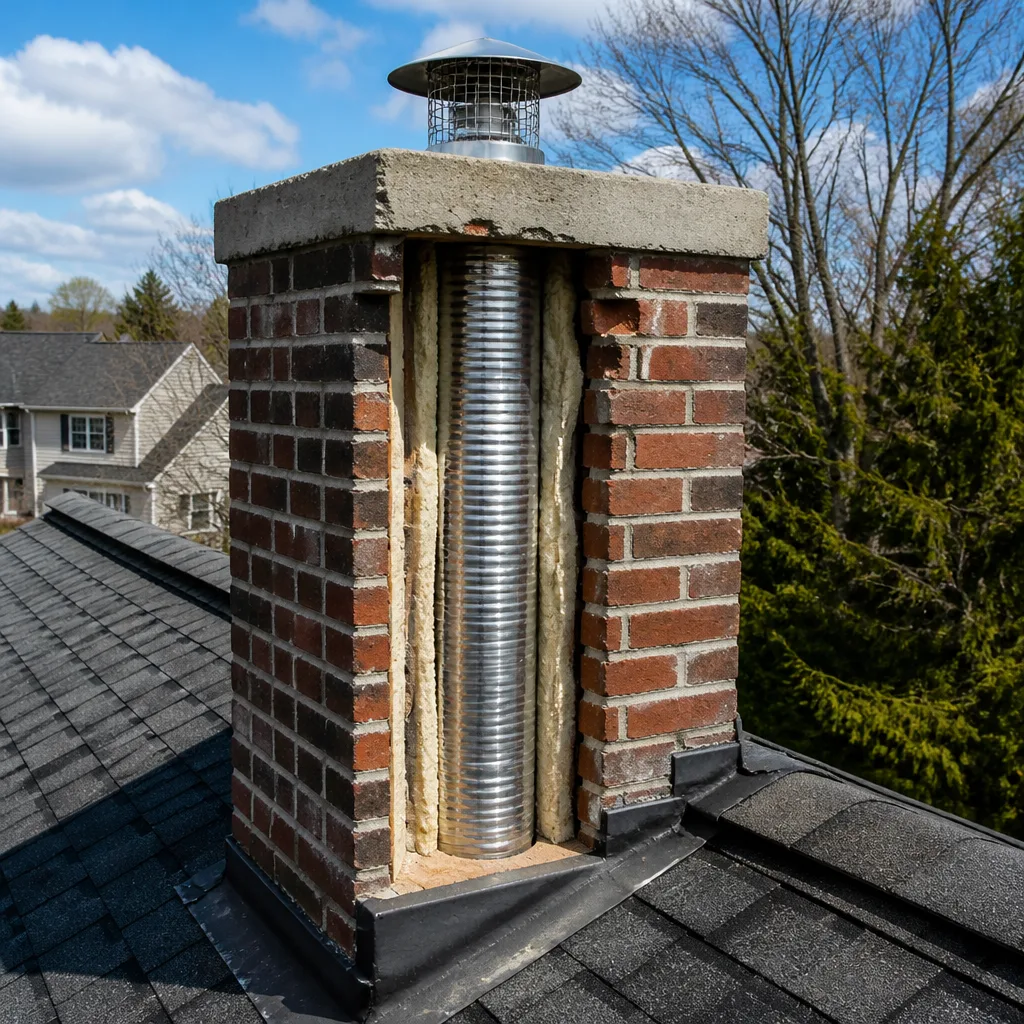
- Flue liner. Healthy: continuous, even lining with no gaps, cracks or spalling. Signals problems: visible cracks, gaps at the joints, missing tiles, or a liner that’s deteriorated where you can see it. A camera is the honest way to know the full length.
- Damper. Healthy: moves smoothly, seats flush, closes fully. Signals problems: sticking, won’t close, gap at the seal, or a damper that’s rusted open.
- Firebox. Healthy: solid firebrick with tight mortar joints, intact back wall. Signals problems: cracked firebrick, crumbling mortar, deteriorated back wall, gaps that let heat reach the structure.
- Masonry and mortar joints (exterior). Healthy: tight joints, consistent brick, no staining. Signals problems: missing or receding mortar, spalling brick faces, white powdery efflorescence.
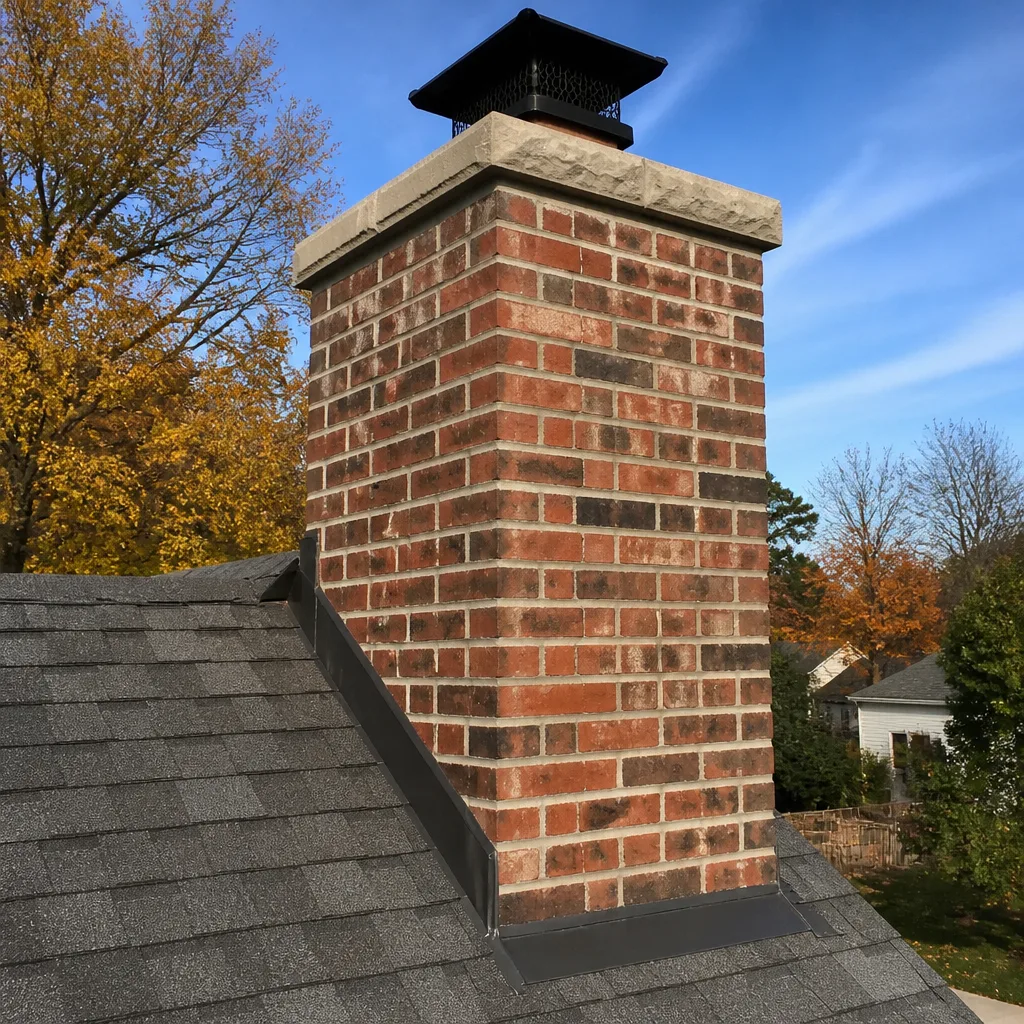
- Flashing and the saddle (cricket). Healthy: tight, sealed flashing where the chimney meets the roof, with a saddle built to deflect water around the upslope side. Signals problems: lifted or rusted flashing, water staining on the ceiling below, or a chimney that sits on the upslope without a saddle. Water intrusion at the saddle is one of the most common leak points we see in College Station.
- Chase cover (on prefab systems). Healthy: secure, no rust or holes, no standing water. Signals problems: loose or rusted cover, water collecting at the chase top.
We stock and install professional-grade materials for the components on this list – things like Famco caps and Copperfield components – because the difference between a cap that lasts and one that fails in a couple of storm seasons comes down to what it’s made of. That’s a repair decision, but knowing which parts are at risk is what makes the checklist useful.
Which Checklist Items You Can Do vs. What Needs a Technician
A house-clearing line: observation and light testing are homeowner territory. Anything that puts you up a ladder, inside the flue, or on the roof is not. This isn’t about caution for its own sake. Chimney work has real hazards, and some of them are the kind you can’t see until something goes wrong.
Legitimate DIY observations:
- Looking at the cap, crown and exterior masonry from the ground with binoculars.
- Operating the damper by hand and noting how it feels.
- Shining a flashlight up the flue from below the damper to look for visible buildup, nests or debris.
- Inspecting the firebox brick and mortar.
- Watching draft behavior during a fire (smoke, smell, fire performance).
- Testing smoke and carbon monoxide detectors.
- Checking the dryer vent for lint.
Work that needs a trained technician with camera and tools:
- Cleaning the flue. A brush alone doesn’t reach glazed creosote, and a homeowner sweeping from the firebox can spread soot and creosote dust through the house.
- Assessing the flue liner along its full length. A camera is the honest way to see what’s happening above the firebox, and it’s the difference between guessing and knowing.
- Evaluating the crown and masonry for structural repair. What looks like a crack from the ground may be a structural issue that needs proper materials and installation.
- Repairing the damper, cap, crown, flashing or saddle – especially if the work involves the roof or a structural repair.
- Any work on a gas insert or its venting. Gas venting is not a DIY area, and a mistake here is a carbon monoxide risk.
Here’s the honest reason to work with a specialist for the professional side: when we find a liner problem during a sweep, we can fix it. That’s our job, and it’s why we install DuraFlex and HeatShield materials, the same professional-grade products used by certified chimney pros, rather than hardware-store substitutes. No referral runaround, no second contractor to coordinate. Straightforward assessment, honest repair options, professional materials. If a problem during the sweep turns out to be minor, we’ll say so and it can wait. The camera report is what tells us, and you get to see it.
How Often Should You Actually Sweep?
Sweep when the buildup tells you to, not when the calendar does. The standard guidance is roughly once per cord of wood burned, or whenever the soot and creosote layer inside the flue reaches about 1/8 inch. For a light-use fireplace in a College Station home, that typically works out to an annual sweep in the early fall. For an active fireplace or one that burns a lot of wood each winter, you may need it more often.
A gas insert changes the math. You’re not producing creosote, but the venting still needs inspection, and gas appliances still need their components checked. A dryer vent independently needs cleaning roughly once a year, and more often if you have a large household and run loads back to back.
If you’re not sure where your chimney stands, the first step is an inspection. If you’ve never had a camera inspection, that’s the single most useful thing you can do to establish a baseline. Our technicians have up to 14 years of experience assessing exactly these conditions, and we’re glad to lay out the honest options. On College Station homes in particular, we’ve seen plenty of cases where the chimney needed less work than the homeowner feared, and a few where a small issue caught in September saved a much bigger repair down the road. Either way, you know where you stand.
Common Mistakes to Avoid
- Treating the cap as optional. The cap is the first line of defense against water and animals, and a missing or damaged cap in storm season can undo a season of careful use. It’s the most skipped item on the whole checklist.
- Waiting until the first cold night to inspect. In College Station, September gives you a comfortable window to find problems. Checking in November or December limits your options when you actually want to burn.
- Judging creosote from the firebox alone. Visible buildup at the bottom tells you almost nothing about what’s above it. The dangerous creosote is usually higher up, and it takes a camera to see it honestly.
- Assuming a gas insert needs no maintenance. Gas venting and components need inspection just like a wood flue. “It’s not a wood fire” is not the same as “nothing to check.”
- Closing up for the off-season without cleaning. Ash and residue left through a humid summer is a moisture and animal attractant. Clean the firebox and cap the flue before the long stretch.
- Ignoring the dryer vent when the chimney gets all the attention. Lint accumulation is a leading cause of household fires, and the same off-season window is when most people forget to book it.
- Skipping the detector check. Smoke and carbon monoxide detectors are part of the system. New batteries and a test should be on every checklist, every year.
See the difference
 Before
 After
 Before
 After
 Before
 After
When to Call a Professional
Some things you observe and schedule. Some things you call about right away. Call us if you smell smoke in the house when no fire is burning, if smoke rolls into the room when you light a fire, if you see cracking in the firebox brick or the crown, if the cap is missing or damaged, or if you’ve never had the flue inspected and don’t know where it stands. And call before you light the first fire of the season if your sweep is overdue. Saddle Chimney Sweep offers free estimates in College Station – call (844) 538-0969. We answer 24/7. Fast dispatch from 7am to 7pm, Sunday through Friday. For the wider picture of how we work, you can visit our College Station page.
Frequently Asked Questions
About once per cord of wood burned, or whenever the soot and creosote layer inside the flue reaches roughly 1/8 inch. For most College Station homeowners that means an annual sweep in the early fall. A camera inspection at the same time confirms the full flue condition. Call (844) 538-0969 for an exact quote – estimates are free.
Creosote builds up inside the flue and, once it reaches a certain level, it becomes a fire hazard and cutting off the draft. It’s easier to prevent than to fix once it’s glazed. A yearly sweep keeps the flue clean and lets us catch small problems early. Call (844) 538-0969 to book a sweep.
Only if a camera inspection shows the existing liner is cracked, deteriorated or has gaps. We don’t recommend a liner replacement on suspicion. You’ll see the camera footage, and the decision is based on what it shows. If the liner is solid, we’ll tell you it can wait. Call (844) 538-0969 for a free estimate.
Yes. Dryer vent cleaning is one of our core services, and booking it alongside a chimney sweep means one visit covers both. Lint buildup is a leading cause of household fires, and the off-season is the natural time to get it done. Call (844) 538-0969 for an exact quote – estimates are free.
A sweep cleans the flue. An inspection assesses the condition of the entire system, including the flue, cap, crown, damper and firebox. In practice we do both in the same visit, using a camera to see what a brush alone can’t, and you get a photo report of what we find. Call (844) 538-0969 to schedule yours.
Don’t use the fireplace. A nest can block the flue and cause smoke and carbon monoxide to back up into the house. Get it cleared by a technician before you burn anything. Call (844) 538-0969. We answer 24/7. Fast dispatch from 7am to 7pm, Sunday through Friday.
The Bottom Line
A working chimney checklist is a habit, not a form: look at the cap and crown before the season, read the fire during it, and close up properly for the humid months that follow. In College Station, that March close-down matters as much as the September startup, because the off-season is when the real damage happens. Keep the DIY side to observation and light testing, and hand the flue, liner and repair work to a technician with a camera. That’s the whole game plan, and it’s yours to run every year.
Written by the team at Saddle Chimney Sweep.